I had a pile of t-shirts I couldn't donate. Stains. Holes. Weird fading. Felt bad throwing them out.
So I cut them up instead.
Ended up with a grocery bag that's stronger than the cheap ones from the store. Took maybe an hour. Free. And I didn't have to feel guilty about the trash.
Here's exactly how I did it. With photos (well, descriptions of photos – I'm describing what mine looked like so you can picture it).
What you need
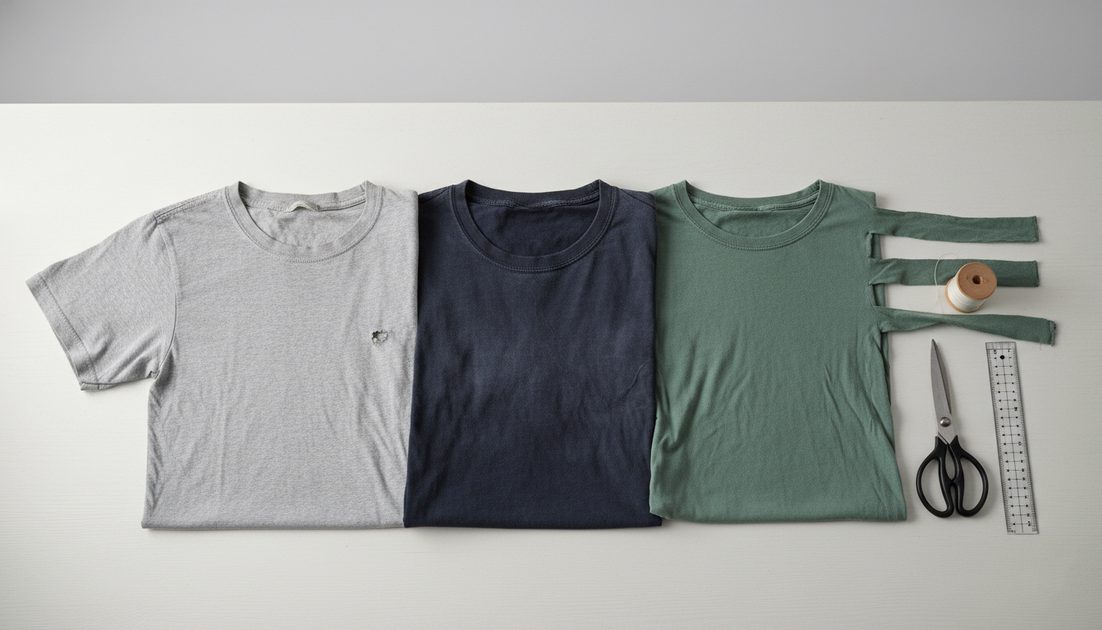
3 old t-shirts (any colors – mine were grey, navy, and a faded green)
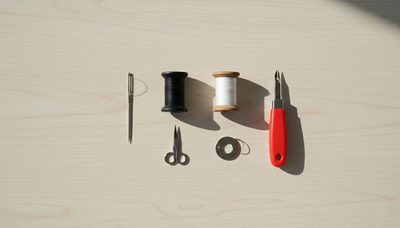
Scissors that actually cut fabric (kitchen scissors worked fine)
A ruler or something straight
Sewing machine OR needle and thread (I used a machine but hand sewing works too)
That's it.
Step 1: Cut the shirts into strips
Lay the first shirt flat. Cut off the hem at the bottom. Cut off the sleeves. Cut off the collar.
Then cut the rest into strips about 2 inches wide. Doesn't have to be perfect. Mine were messy. One strip was 1.5 inches, another was 2.5. Still worked.
Do this to all three shirts.
Mistake I made: I cut one strip too thin. It snapped when I pulled on it. Thicker is better. Go with 2 inches minimum.
Step 2: Tie the strips together
Take one strip from the grey shirt and one from the navy. Tie them in a simple knot at the ends. Not too tight – you're going to braid them, so the knot just holds them together.
Then add a green strip to the end of the grey. Now you have three strips connected. Grey, navy, green.
Do this until all your strips are connected into one long strand. Mine ended up about 15 feet long.
Step 3: Braid
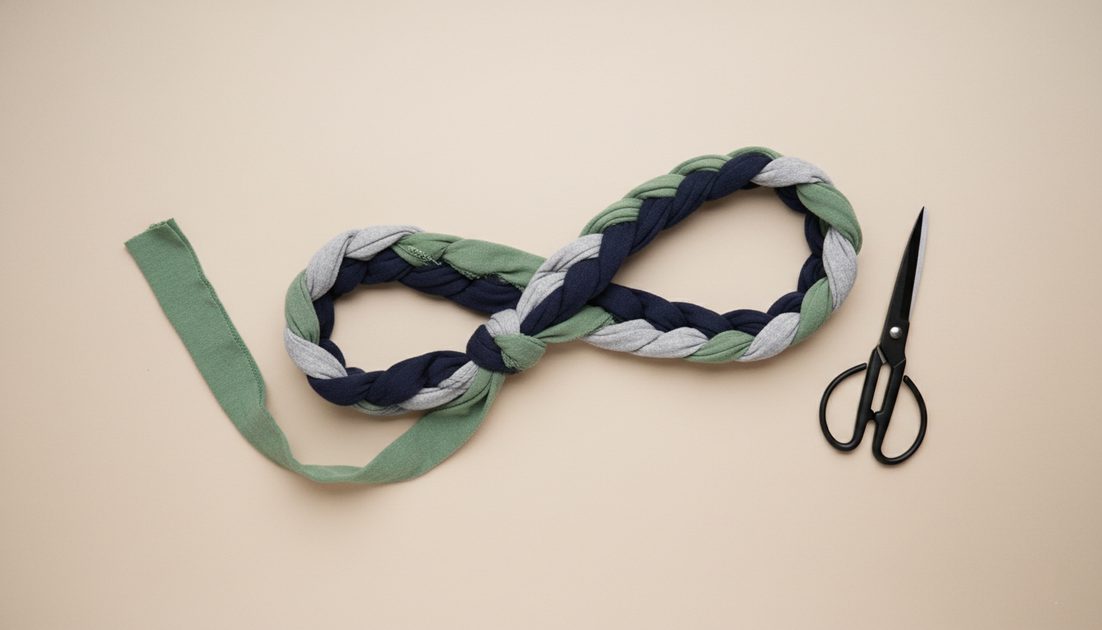
Just a regular three-strand braid. Same as braiding hair.
Take the left strip, cross it over the middle. Take the right strip, cross it over the new middle. Keep going.
What happened to me: About halfway through, I lost track of which strip was which. Had to undo about a foot and start that section over. Annoying but fixable.
At the end, tie another knot to hold the braid together.
Step 4: Turn the braid into a bag shape
Now it gets a little weird to explain.
Coil the braid into a circle – like a cinnamon roll. That's going to be the bottom of the bag.
Sew through the coils to hold them together. I just zig-zagged through everything with my machine. If you're hand sewing, do a running stitch back and forth a few times. Needs to be strong.
Once the bottom is solid, start wrapping the remaining braid around and up. Each layer sits on top of the previous one. Sew as you go.
How I messed up: I didn't leave enough braid for the height I wanted. My bag is a little short. Good for apples and potatoes. Not good for a loaf of bread. If I did it again, I'd make the braid longer.
Step 5: Make the handles
I had some braid left over. About 2 feet.
Cut it into two equal pieces. Fold each piece into a U shape. Sew the ends into the bag on opposite sides.
If you don't have leftover braid, just braid three more strips. Or skip handles and use it as a produce bag instead of a grocery bag.
The finished bag
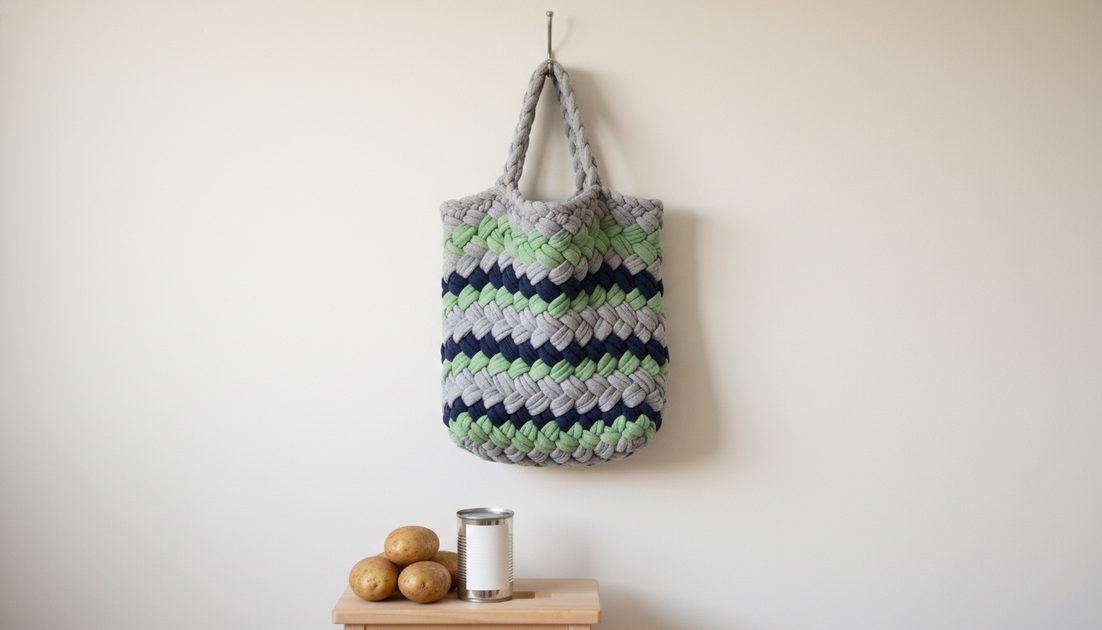
It's ugly. Grey, navy, and green stripes. The handles don't match. The bottom is lumpy.
But it holds four pounds of potatoes. I tested it. No rips. No stretch.
The store clerk actually complimented it. Asked where I bought it. I said I made it from old t-shirts. She looked confused but nodded.
What I'd do differently
Start with four shirts instead of three. I ran out of braid and my bag is too short.
Cut the strips more evenly. The thick parts of the bag feel great. The thin sections worry me a little.
Not forget that I don't know how to sew in a straight line. The bottom is a mess but it holds.
Does it actually work?
Yes. I've used it four times. Carried canned beans, onions, a bag of rice, potatoes.
The fabric stretched a little on the first use. Settled in after that. Feels broken in now, like an old pair of jeans.
One of the handles is definitely going to fail eventually. The shorter one. The stitching wasn't great there. I'll fix it when it breaks.
Cost: $0.
Time: About an hour while watching TV.
Trash saved: Three shirts that would have ended up somewhere.
I'm making another one this weekend. Four shirts this time. Maybe I'll actually measure things.
No comments yet — be the first to share a thought.